Before diving in, let’s talk materials. The beauty of doodle drawings lies in their simplicity—you don’t need anything fancy.
Now that you’re set, let’s get started! I will show you how I created “rupture” step-by-step:
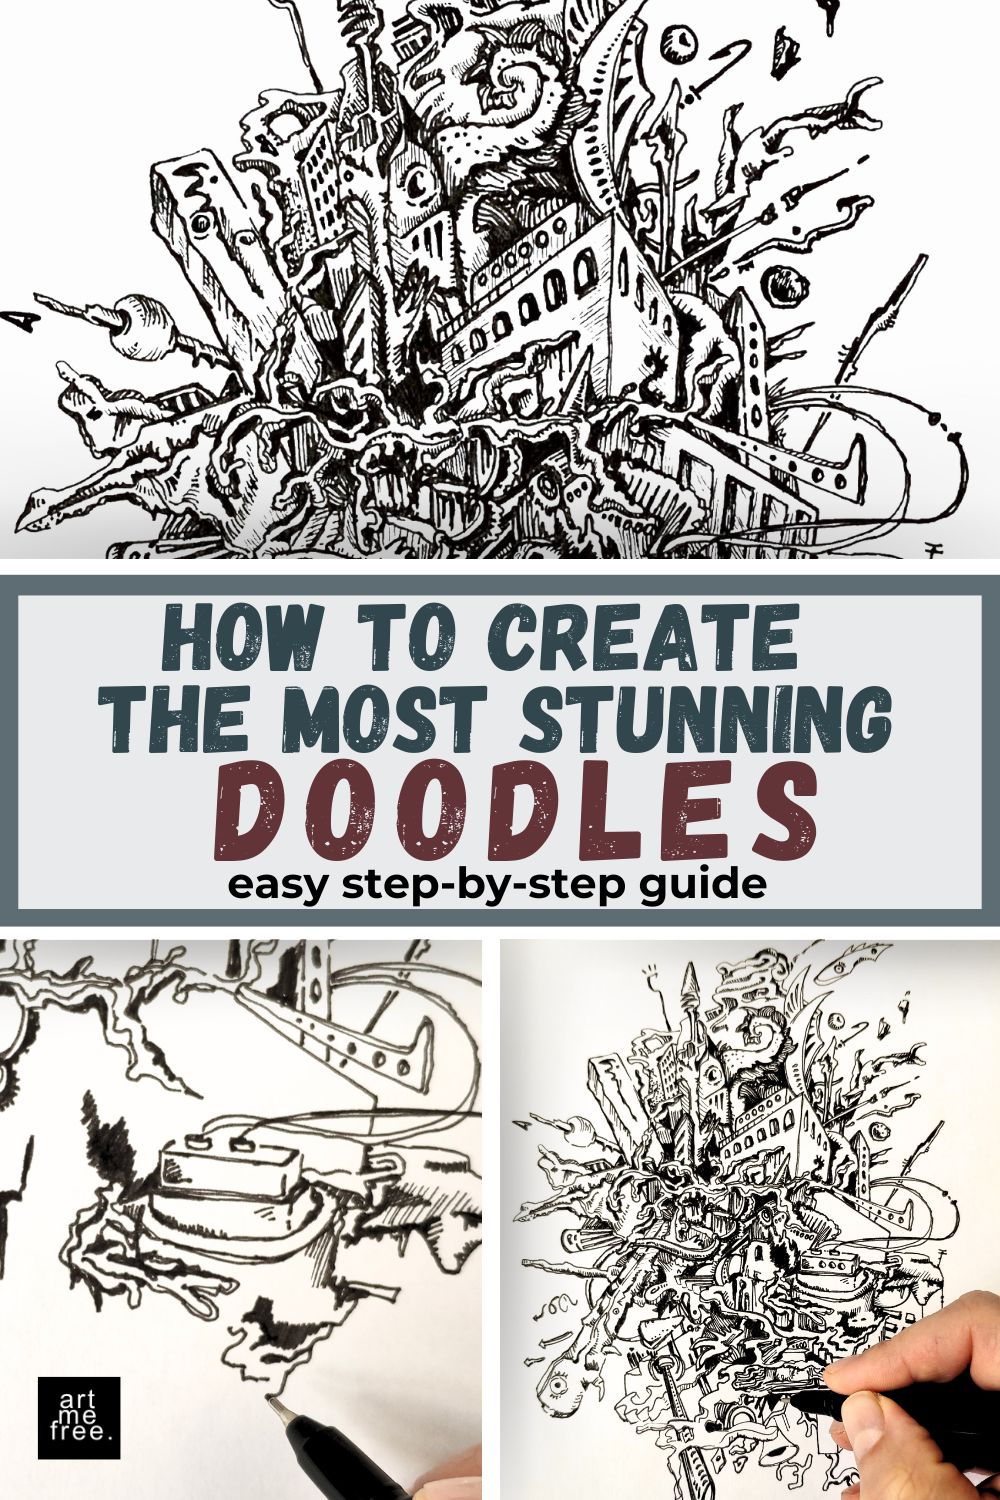
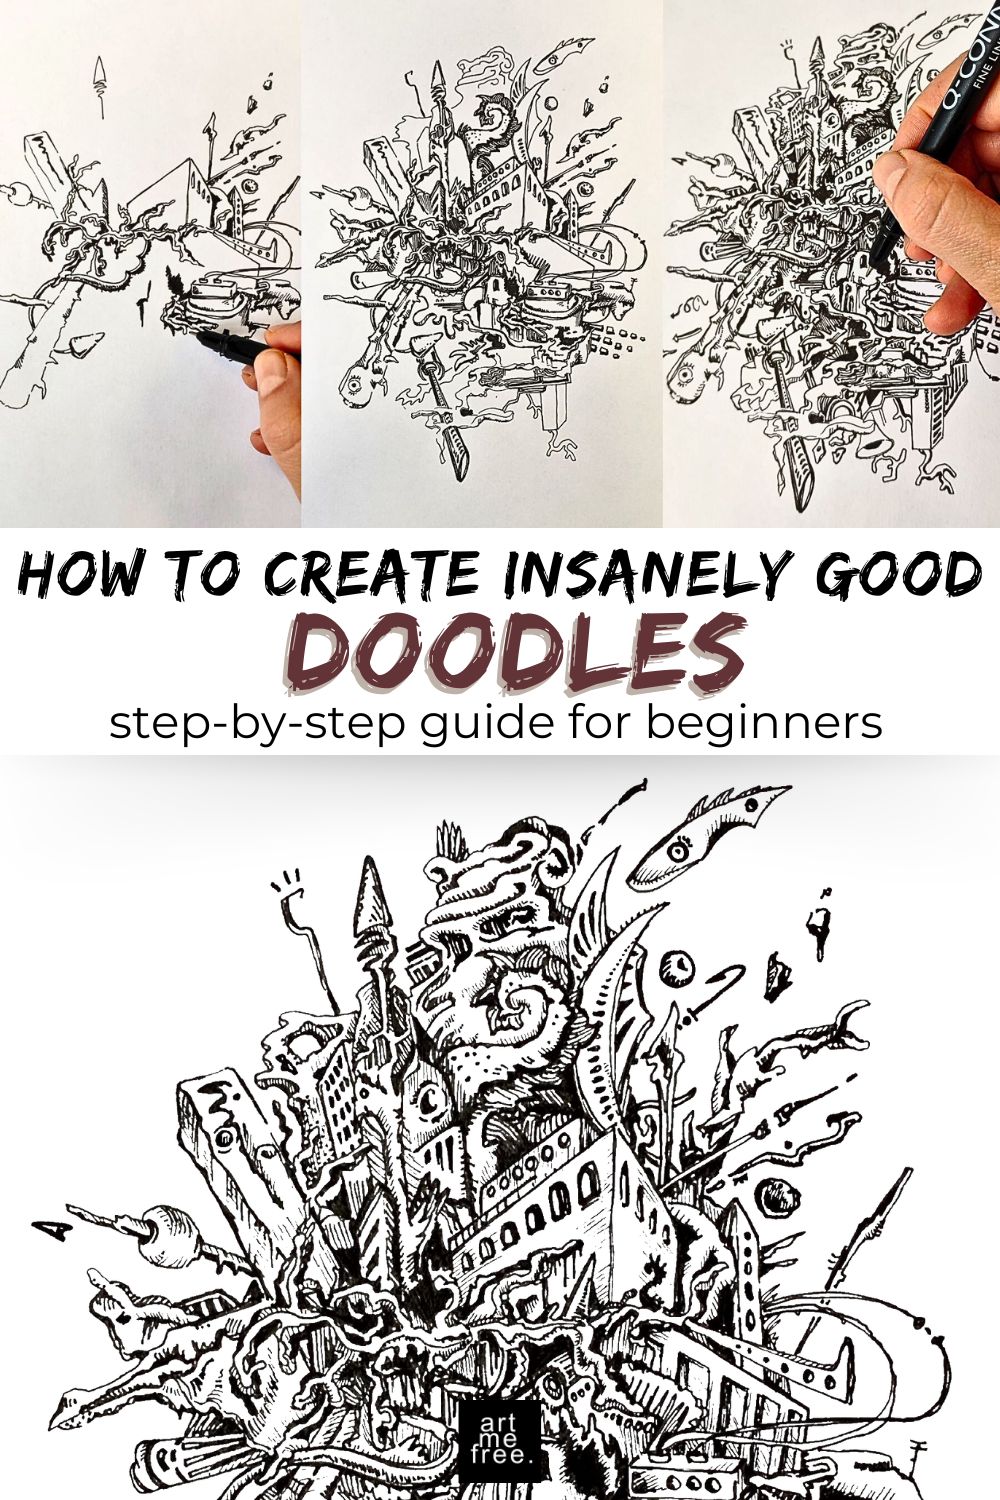
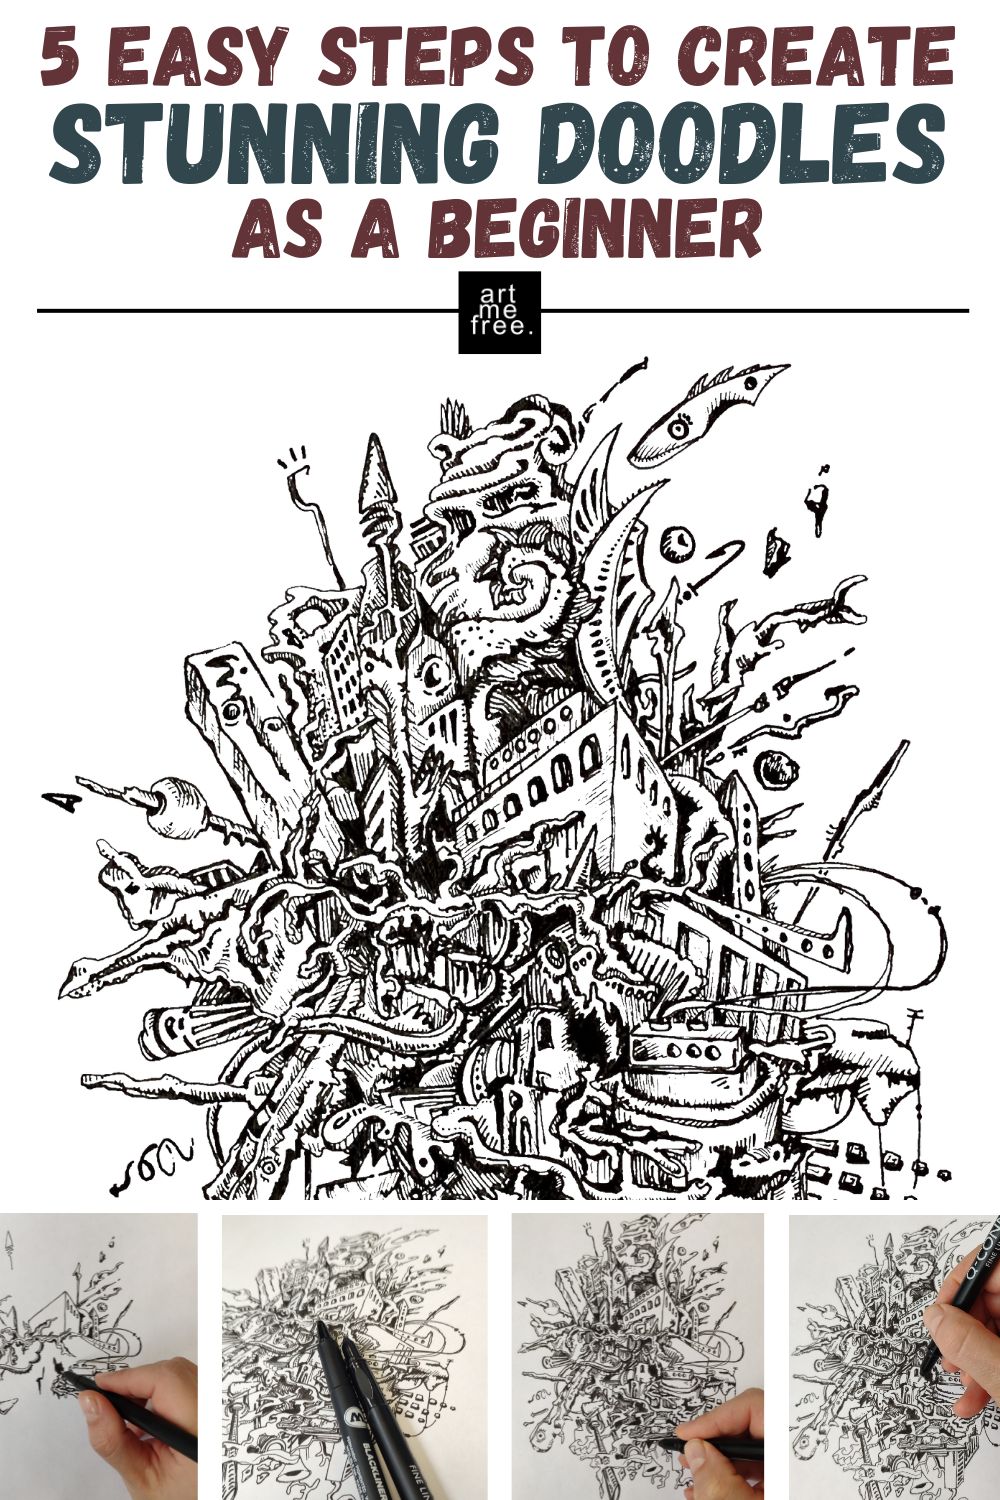
Begin by drawing random shapes and lines. Look at the first image of “Rupture” to see how the process starts. You can base shapes on objects or let your imagination run wild.
The key here is to cluster your shapes—don’t scatter them across the page. Keep them connected to form a cohesive design. Experiment with curved lines, organic shapes, or geometric patterns. Add some bold outlines to certain areas while leaving others blank.
When drawing, I don’t aim for straight or perfect lines. Instead, I embrace wobbly, imperfect, and even interrupted lines—this gives artmefree doodles their unique style. Remember, perfection isn’t the goal here; it’s all about uniqueness and the creative process. Check out my dedicated blog post on why perfection is overrated in art. Check it out to embrace imperfections and enjoy the freedom of creating without pressure.
Refer to the second image to see how the doodle begins to grow. Add new shapes and objects to expand the design, keeping everything tied together. This is also the time to set your own rules—or not!
For example, you can draw real objects like a building, then switch to abstract fantasy shapes. Go back and forth between the two styles as you like. Additionally, you can experiment by mixing two-dimensional shapes with three-dimensional ones, creating a dynamic and layered effect. Don’t stress about consistency. The magic happens when you let your creativity flow. If you want to, leave some shapes floating, but keep most of the elements connected to build a strong focal point.
Look at the next images to see how dimension and shading are introduced. Use thicker lines or create overlapping areas to give your doodle depth. Switch to a thinner pen to add intricate details, such as hatching or faded lines inside shapes.
This step gives your doodle drawings a more dynamic and polished look, making them stand out. Focus on areas that feel too flat and add layers to bring them to life.
In this step, you’ll notice certain areas are filled in completely black. This trick is simple yet powerful—it creates contrast, balance, and dimension in your doodle.
If you feel stuck or unsure about where to go next, coloring an area black can help reset your creative flow. Try it out and see how it transforms your design.
Finally, it’s time to refine your doodle! You’ll see how fine details make a big difference. Use a very thin pen (like 0.1 or 0.05) to add hatching, intricate patterns, and subtle connections between shapes.
This step is about finishing touches. Focus on small areas to enhance the overall balance and depth of your doodle drawings.
Creating stunning doodle drawings is all about enjoying the process. By following these five steps and referring to the images, you’ll see how simple lines and shapes can come together to form something magical.
Don’t forget to share your creations and check out more designs at artmefree for inspiration. Happy doodling!


To provide you with an optimal experience, we use technologies such as cookies to store and/or access device information. If you consent to these technologies, we may process data such as browsing behavior or unique IDs on this website. If you do not give or withdraw your consent, certain features and functions may be impaired.